
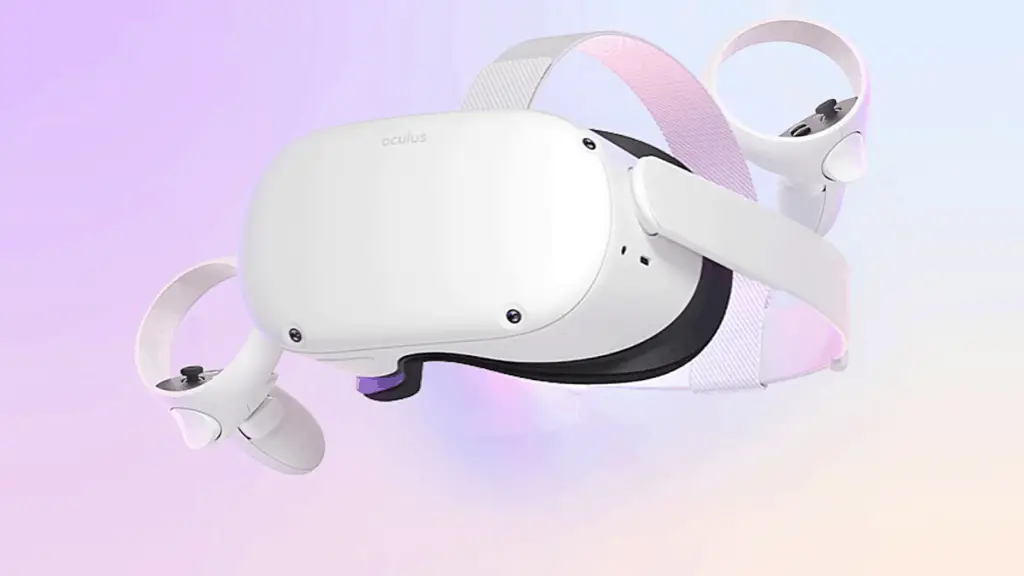
The Oculus Quest 2 is undeniably a formidable opponent in the world of VR. One of its strengths comes from the completely wireless experience Facebook has pushed for.
That being said, all wireless technology needs to get power from somewhere, right?
Oculus Quest 2 controllers will need charging at some point too. If you’ve been wondering how the fancy new controllers get their juice, then look no further. Not only are you alone – the future can get tricky even for many VR-enthusiasts, but in this article I’ll be talking about how to charge your Oculus Quest 2 Controllers.
The most straightforward answer is this: You’ll need a single AA battery for each controller. You can use rechargeable batteries, or good old fashioned regular ones. Simply locate the battery compartment on the side of the controller, open it up, and replace the batteries – or take out the rechargeable ones to charge them.
What’s so tricky about that? Well, getting the controllers open in the first place is one prevalent issue in the VR community. The developers have admittedly not done the best job in the way of design and instruction to open the controllers.
Let’s take a look at this in more detail.
How To Open The Battery Cover of Quest 2
Finding the battery compartment is half the effort, and getting it open is the other half.
To locate where your controller’s cover will open, look for the arrows on each controller’s front side. These are pretty obscure and may take some time to find. Even if you can’t, that’s alright.
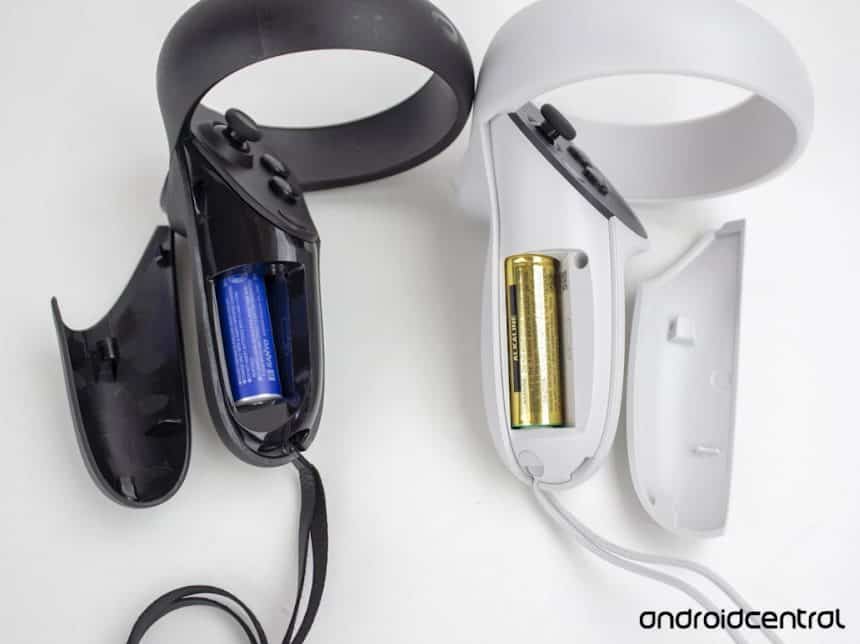
The battery compartment of the Quest 2 is located on the bottom half of the controller that’s right under the joystick. With a little attention to detail, you’ll notice that the grip of your controller has a line that’s actually a gap. The left half of the grip is actually the battery cover.
Taking this plate off isn’t exactly a standard procedure either. Some controllers come a little more jammed than others. If you apply too much pressure, you also run the risk of breaking the plating, and nobody wants that. Here’s a few ways you can open the battery cover:
- Press downwards with your thumb from the top of the controller’s grip, under where the button consoles are. Think of it like pressing and dragging down to “pop” the panel out of its socket. You can apply a little more force if you seem to be running into trouble.
Watch this video for a quick idea of how this works!
- If using your hands isn’t doing much for you, chances are that you need to bring in the real guns. In most cases, a standard kitchen knife will do the trick. There’s plenty of reasons that the compartment could be jammed, but using a simple butter knife might solve the problem. Simply insert the knife, or any other thin but firm object, and slowly pry open the compartment. Keep in mind that you really don’t need to use much force here. Shimmy the knife around to loosen the grip and the compartment should pop open.
Changing the Batteries
Once you’ve got the battery cover off, you’re treated to the sight where a single AA battery will need to be placed.
Those with slim and strong fingers will be glad of their physique, as taking the batteries out may be tougher for some others out there. But fret not! A simple butter knife or other utensil can easily be slid to the side of the battery and help to slide it out.
You may want to take a note of the positioning of the battery in the controller before you take it out. This way, you can be sure of how to place the replacement battery.
Even if you’re not sure, here’s a quick guide to AA batteries:
- Flat rounded side = bottom
- Pin side = top
- The bottom of the battery first gets pressed into where the spring is in the battery slot
- The top clicks into place at the other end of the slot.
For the Oculus Quest 2 controllers, the top of the battery (pin side) should face the end of the controller, and the bottom (flat rounded side) should face upwards to where the buttons console is.
Adding fresh batteries instantly gives new life to your controllers!
Using Rechargeable AA Batteries and Chargers for Quest 2
Of course there’s also always the option of using rechargeable batteries for your Quest 2 controllers! This saves you the hassle of having to always keep stock of regular AA batteries.
The procedure to use rechargeable AA batteries is the same as regular batteries: take them out, charge them, put them back in.
Depending on the ones you buy, your cells may have their own external charging station. If that’s the case, do take care to manage your charging time and playing time so that you always have powered up controllers!
An ideal option for rechargeable batteries is the bespoke Oculus Quest 2 charging station developed by Anker. When this station was first introduced, it sold out faster than anybody anticipated! It solves the major problem with the Oculus Quest 2: the hassle of charging.
With such a station, you just need to dock your headset and controllers when not in use, and they charge up! Probably the easiest way you can get yourself the Anker charging station is from Amazon, and could well be worth the long term savings rather than having to constantly get batteries.
Which Batteries to Choose for your Quest 2 Controllers
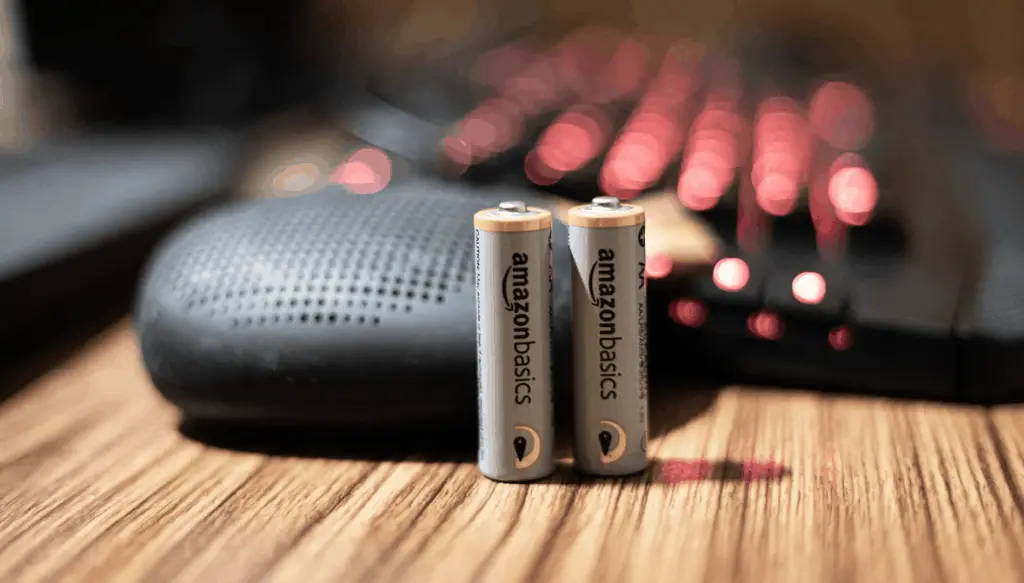
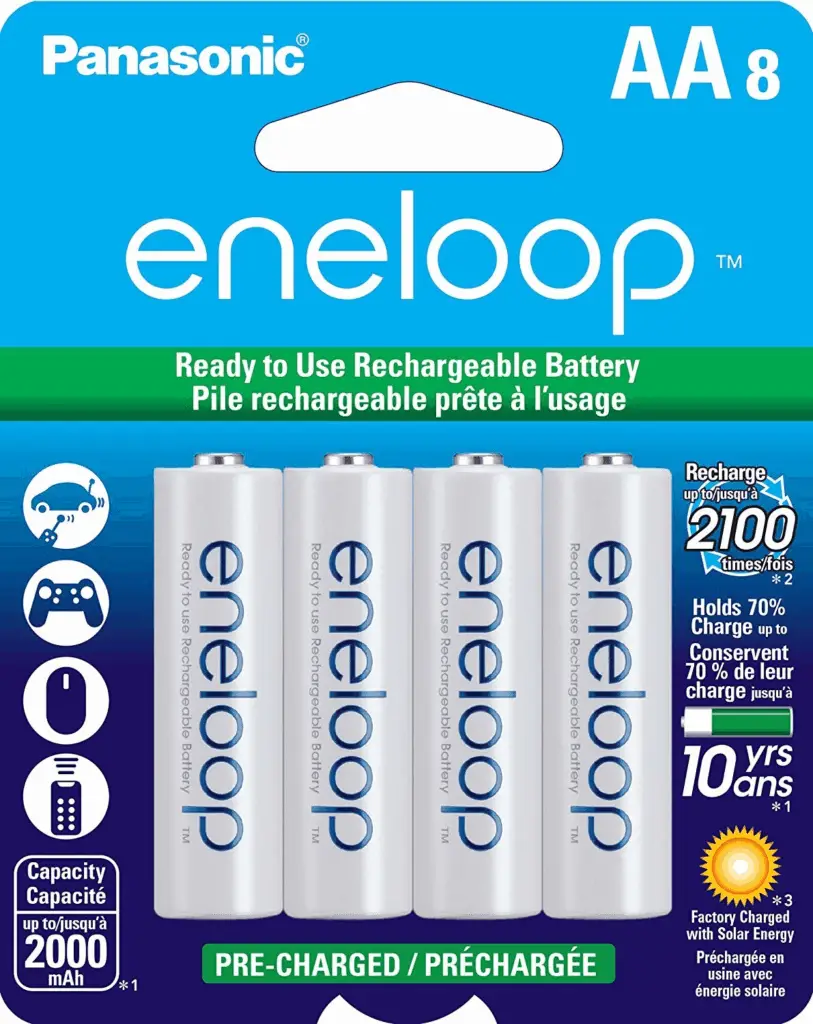
You might be wondering whether some batteries would work better than others. To help you make the best decision, I’ve compiled a list of batteries you can use in your Quest 2 controllers. The top 2 recommended ones are:
Designed for a long battery life and impressive performance, this set of 20 batteries will ensure your controllers are fully charged for a long time. These are not rechargable and are intended for a one-time use.
Batteries which can be recharged over 2100 times and maintain their voltage capacity are something which anybody would want! The charger needs to be purchased separately for and you can get a Panasonic one here.
How Long do the Oculus Quest 2 Controller Batteries Last
All this may have you thinking about how often you’ll have to go through the hassle of charging the Oculus Quest 2 controllers.
There’s no single answer for how long the Quest 2 controller battery life will be. It depends on the usage as well as the quality of the batteries. However, as an estimate, you can expect the batteries to last for 30 and sometimes even up to 50 hours of play time.
Now that you’ve got your controllers charged and ready to go, the magnificent world of VR awaits you!
HARDWARE USED FOR TESTING AND WRITING THE ARTICLES:
* Meta Quest 2 (My “daily driver” headset, which I absolutely love & recommend)
* Lenovo Legion 5 Pro (AMD Ryzen 5 5600H, Nvidia Geforce RTX 3060, 16GB RAM)
* TP-Link Archer C6 (budget dedicated router for Air Link, see my full setup tutorial)
ESSENTIAL QUEST 2 COMFORT ACCESSORIES:
* VR Cover Foam Replacement (one of the easiest & cheapest ways to improve headset comfort)
* BoboVR M2 Head Strap (reduce pressure on your head and improve the overall fit of the headset)