
Are you looking to transfer files to (and from) your Quest 2 but don’t know how to do it? If that’s the case then you arrived at just the right place!
The easiest way to access and transfer files to and from your Quest 2 is to connect it to your PC via the provided USB cable and use a file explorer on your PC to move files between the devices. Alternatively, you can use e-mail, upload services, or Google Drive to upload and download your required files.
Let’s look at these and other options for transferring files in a bit more detail!
How to Access Quest 2 Files On Your PC
Sometimes you need access to the files saved on the internal storage of the Quest 2. The most obvious scenario is when you have taken screenshots or recorded videos that you now want to watch and/or move to your PC.
Follow these steps to access Quest 2 files on your PC:
- Turn on your headset and set up the guardian
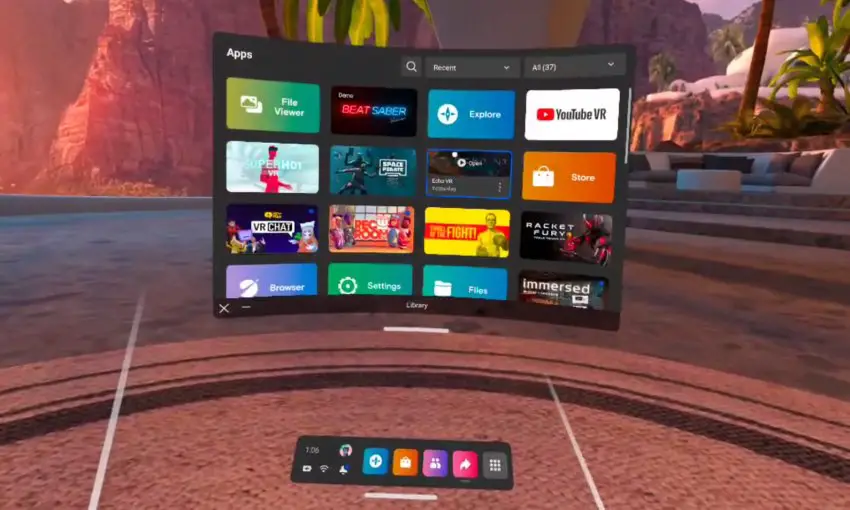
- Make sure you are in the Oculus home environment
- Connect your PC and Quest 2 with the provided USB cable
- Put on your headset and allow access to data

- Quest 2 will now appear as a drive on your computer
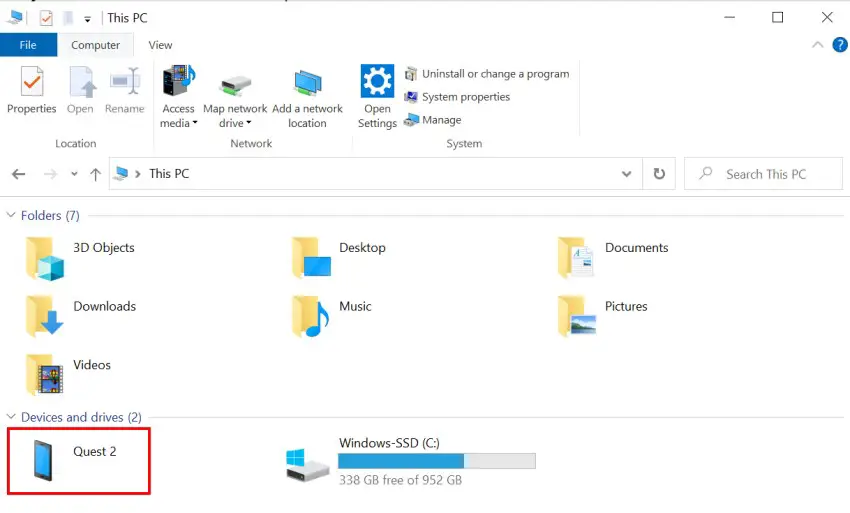
- Open the Quest 2 device
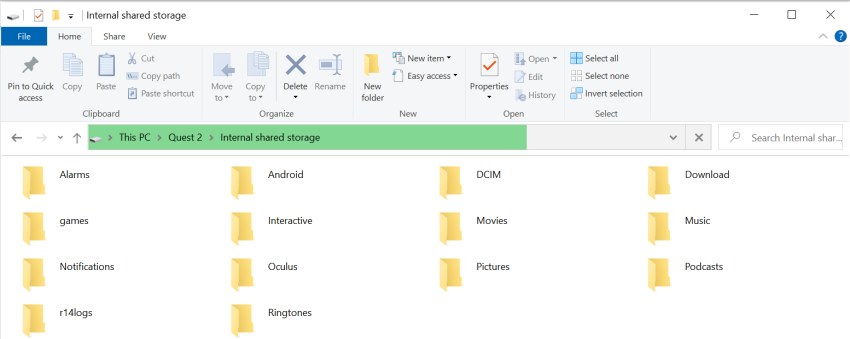
- Open “Internal shared storage“
- Browse and open your desired location
Note! If you are having trouble connecting the Quest 2 to your PC, make sure to click on the link to read my troubleshooting article.
Quest 2 screenshots are located at “Quest 2\Internal shared storage\Oculus\Screenshots“
Quest 2 video recordings are located at “Quest 2\Internal shared storage\Oculus\VideoShots“
You can now go ahead and use the “Copy / Paste” functionality or drag and drop files as you would with any regular external hard drive connected to your PC.
Copy Files to Your Quest 2
Since the Quest 2 acts as an external hard drive when connected to your PC, this means that you can copy files to the headset (e.g, pictures, movies, and video files) and view them in VR
In order to transfer files from your PC to the Quest 2, you have to connect the devices with the provided USB (charging) cable and allow data access from the headset. You can then open the Quest 2 storage from your PC and copy files to your chosen location.
It really doesn’t matter much where you move the files. The default file manager on the Quest 2 automatically scans the drive for recently added media files and lists them. Most video players also allow you to browse the file system and navigate to the target location for media playback.
This means that you can create new folders on the Quest 2 internal storage and categorize your files as you see best suitable.
Access and Transfer Quest 2 Files using SideQuest
Another way to access and transfer files to and from your Quest 2 is using the SideQuest file manager.
For those that don’t know, the primary goal of SideQuest is to install (sideload) experimental games and applications and configure various advanced settings on your headset. The application also has a built-in file manager that allows moving files between your headset and PC.
Follow these steps to set up SideQuest on your PC and transfer files to and from your Quest 2:
- Enable developer mode on your headset
- Install and configure SideQuest
- Make sure your headset shows as connected

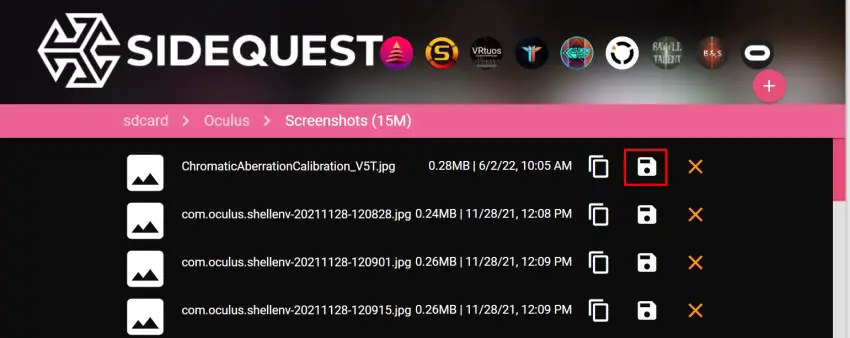
- Select “Manage files on the headset” from the SideQuest menu

- Use the “Save” icon to download files or folders to your PC or “X” to delete
- You can also drag and drop files from your PC
It’s probably not worth setting SideQuest up just for the file manager functionality. However, if you like the idea of having access to various experimental / demo games and would also like to fiddle with Quest 2 advanced settings then it’s definitely a viable option to consider.
Transfer Files To and From Quest 2 Wirelessly
I think most of you will agree with me when I say that using the Quest 2 wireless (or any device for that matter) is more convenient than the old-fashioned wired way.
Although there currently isn’t an official way to transfer files wirelessly (Air Link does not work for this purpose), still there are some options that I am now going to cover briefly.
X-Plore File Manager
X-Plore File manager is an android file explorer that has built-in wifi server capabilities. You can sideload X-Plore on your Quest 2 and connect to the Quest 2 file manager service using a web browser on your PC. Although you need a USB cable initially (to install the app on your PC), once that is done it’s truly wireless file sharing.
SideQuest Wireless File Sharing
With SideQuest, you can use the wireless mode to connect to your PC over a WiFi network and transfer files without using any cables. The caveat here is that the wireless connection will only remain active until you reboot your PC or headset.
Using E-Mail to Share Files
Another way to transfer files between your Quest 2 and PC is to simply use your email service provider. Log into your email account using the Quest 2 browser and add the needed files as attachments to the emails. This way you can send files both from and to your headset.
File Upload Services
There are many file upload services (e.g Easyupload.io) that allow you to quickly upload your files without registration. Once files are uploaded (works both on your PC and Quest 2) you get a link for your upload that you can use to download the files.
Google Drive
Google Drive allows you to upload and download files both from your PC as well as your Quest 2 headset. You can find the steps to upload files from your Quest 2 by clicking on the link.
Transferring Quest 2 Files Without PC
If you don’t have a PC (or can’t use it for one reason or another) then don’t worry – all hope is not lost. You can actually connect your (Android) phone to your Quest 2 and transfer files without any real complications.
I don’t personally own an iPhone and haven’t researched the options for this, but if all else fails, you can again use your e-mail or upload services to move files back and forth between the devices.
Ok, that’s all from me now. I hope the article was useful for you and it helped you find a suitable method for transferring files to and from your Quest 2 headset.
HARDWARE USED FOR TESTING AND WRITING THE ARTICLES:
* Meta Quest 2 (My “daily driver” headset, which I absolutely love & recommend)
* Lenovo Legion 5 Pro (AMD Ryzen 5 5600H, Nvidia Geforce RTX 3060, 16GB RAM)
* TP-Link Archer C6 (budget dedicated router for Air Link, see my full setup tutorial)
ESSENTIAL QUEST 2 COMFORT ACCESSORIES:
* VR Cover Foam Replacement (one of the easiest & cheapest ways to improve headset comfort)
* BoboVR M2 Head Strap (reduce pressure on your head and improve the overall fit of the headset)
